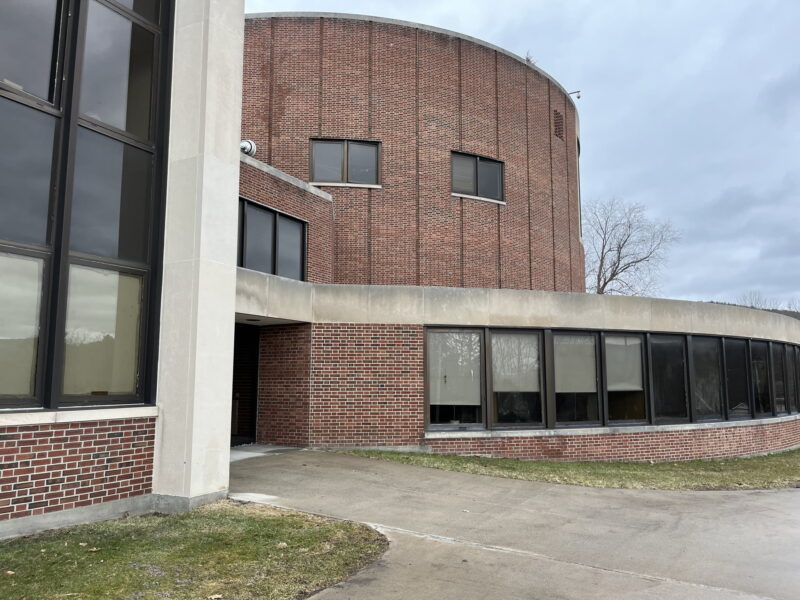

Classroom Technology in Anderson Center For The Arts
Here you will find detailed information about the A/V equipment installed in Anderson Center For The Arts classrooms, and learn how to operate it.
Quick Links
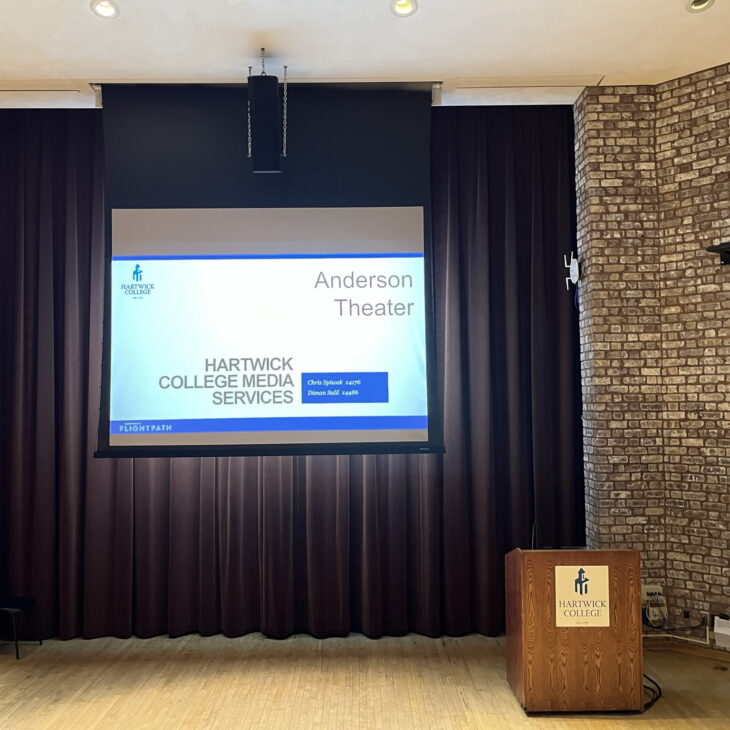
Anderson Theater
Screen: Motorized screen over stage
Projector: Epson Pro L1505
Controller: Crestron DMPS300 – Touch Panels on the lectern and tech booth
Connections: VGA, Composite Video, HDMI, additional computer adapters in lectern and tech booth
Installed media players: Onkyo Blu-ray Player in lectern and tech booth
Sound: Crown Amps, Sennheiser Wireless Mics, Soundcraft Sound Board
Lighting: Strand 250ML Light Board, LED ellipsoidal and fresnel fixtures
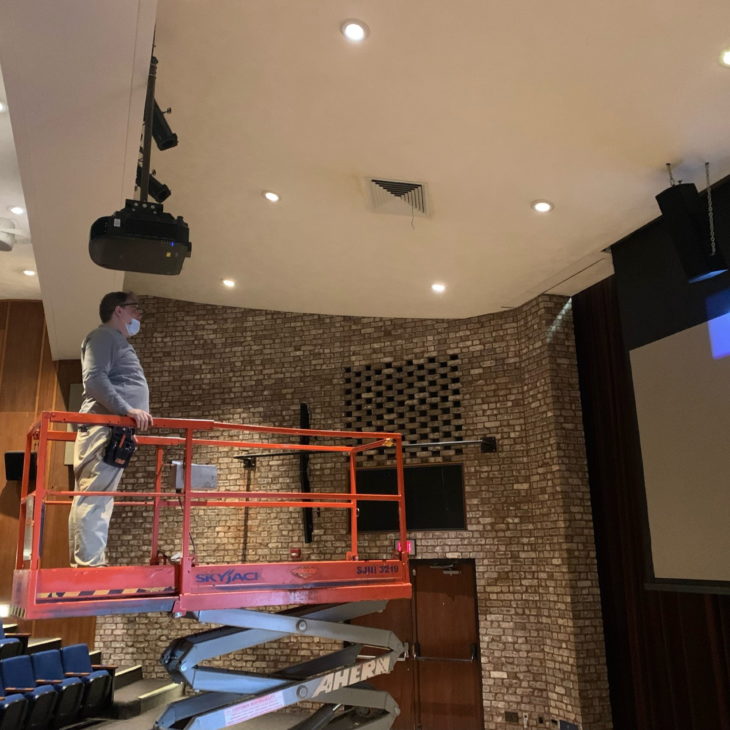
UPDATE: New Projector
A new projector was installed on 2/2/2022. The Epson Pro L1505 is a WUXGA projector, 4k Enhanced, with 12,000 lumens of brightness from a laser light source.
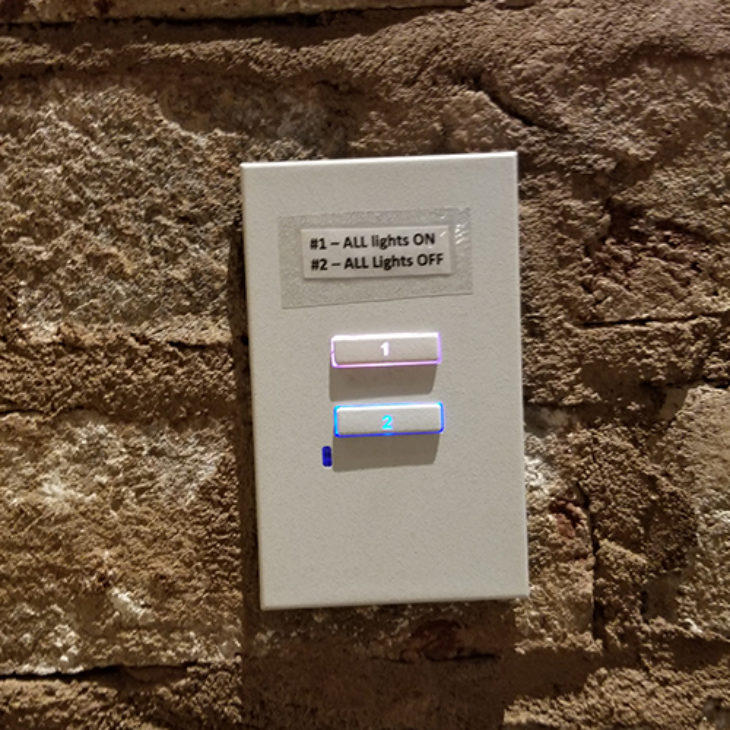
Anderson Theater - Lighting Controls
Simple lighting panels are located through the house of the theater. The top button turns ALL lights on. The bottom button turns ALL lights off.
Anderson Theater - Backstage Lighting Controls
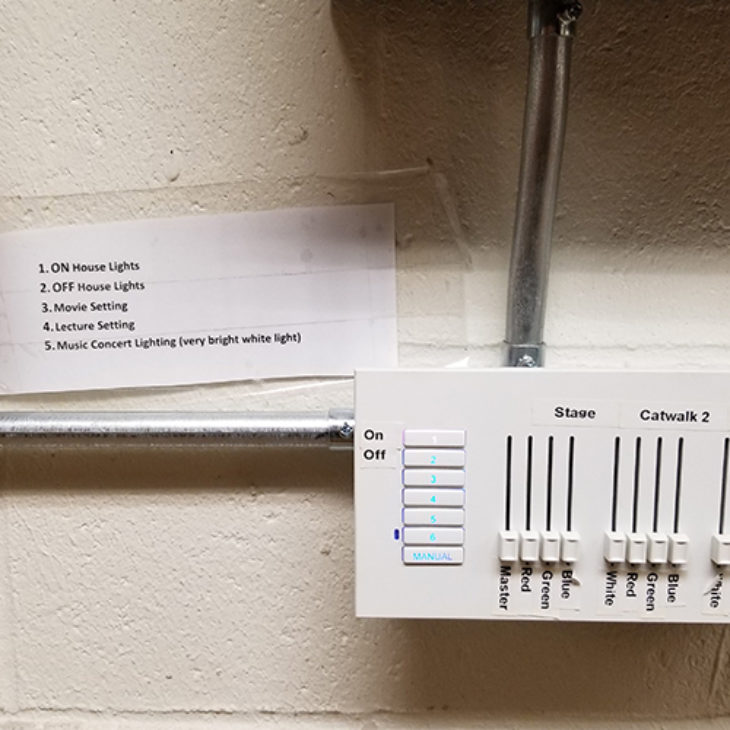
Backstage (behind wood doors) there is an extended lighting control panel.
Preset buttons on the left of the panel offer the following settings:
1 – House lights ON
2 – House lights OFF
3 – Movie lighting
4 – Lecture lighting
5 – Concert Lighting
Full Strand ML light board is located in the tech booth.
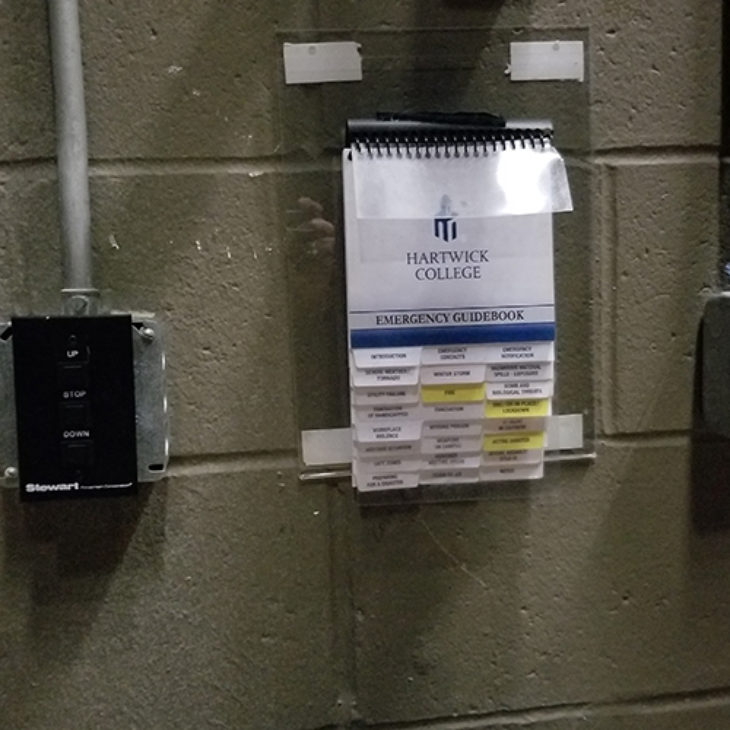
Anderson Theater - Motorized Screen
Backstage right is the controller to raise and lower the screen.
Anderson Theater - Instructions
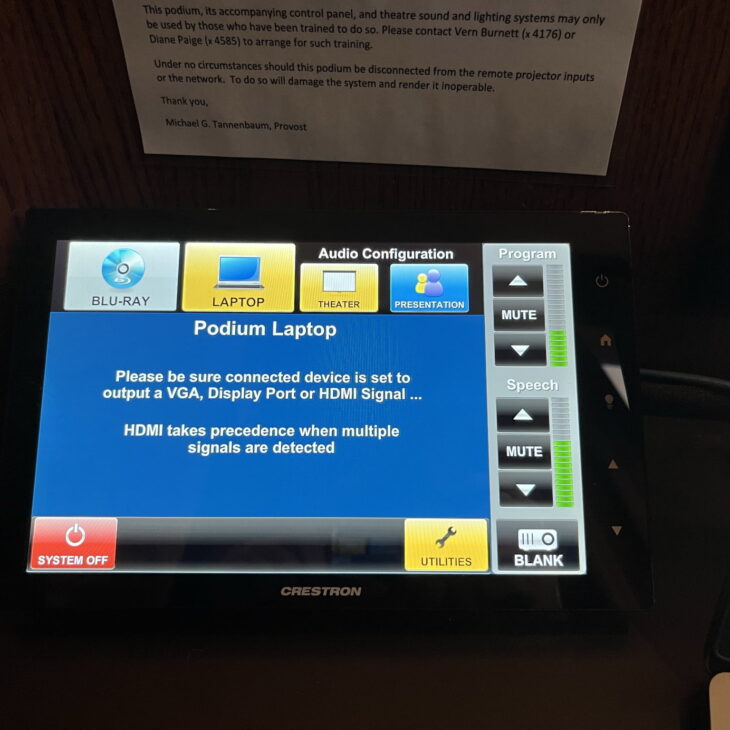
Press the touch screen to begin.
Press “LAPTOP” to turn the projector on and project your computer.
Leave the Audio Configuration set on “PRESENTATION” – if it’s in “THEATER” mode, it will sound distorted.
The “Program” volume control on the top right controls the volume from your computer.
The “Speech” volume control on the middle right controls the volume from the lectern mic.
Press “SYSTEM OFF” to shutdown the projector and sound system.
There are additional wireless microphones available as well as advanced audio and lighting control from the tech booth. Please request these services in advance from [email protected].
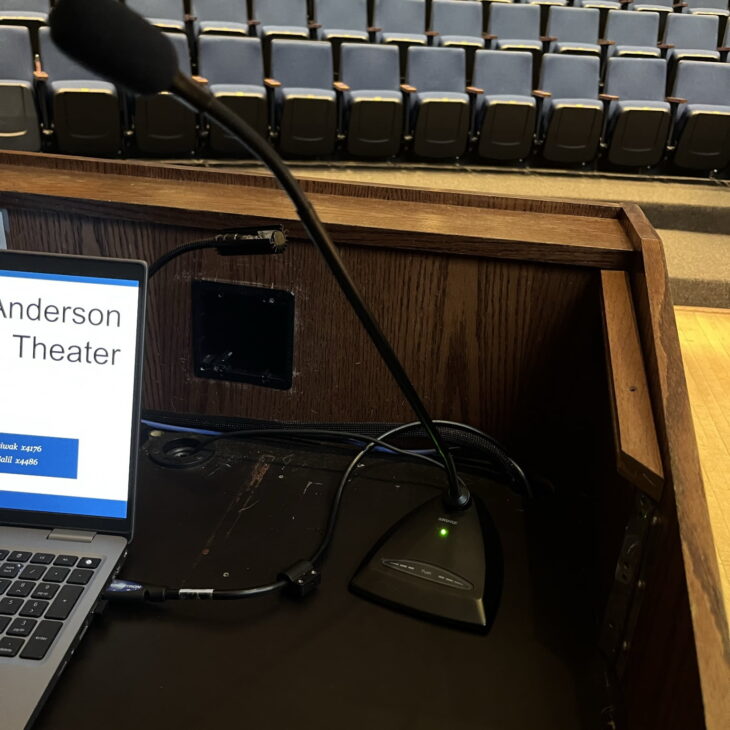
Anderson Theater Lectern Mic
The button on the base of the mic should be green. If it is not green, press the base to unmute it.
The “Speech” volume control on the middle right of the touch panel controls the volume.
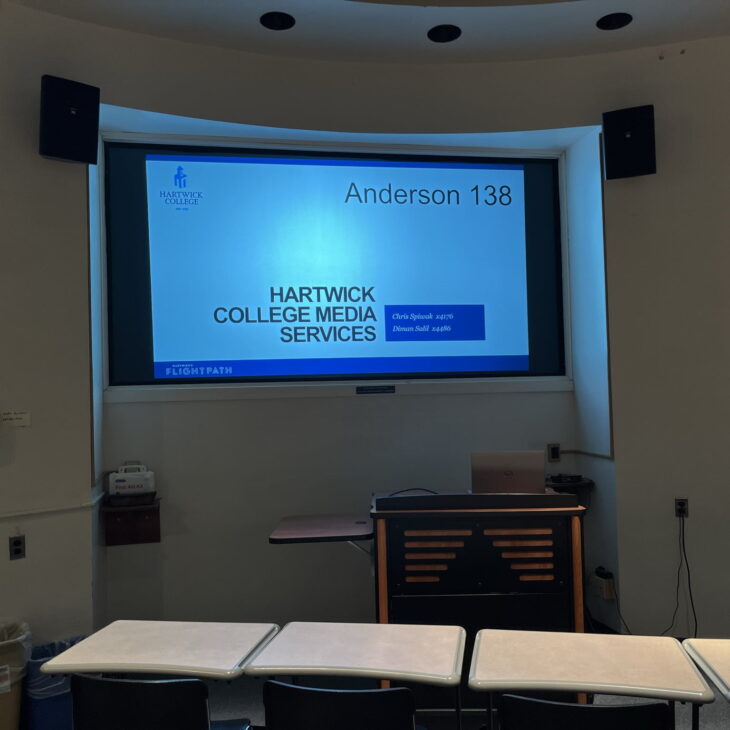
Anderson 138
Screen: Rear projection at front of classroom
Projector: Epson Pro G7400U
Controller: Epson Remote Control
Sound: control volume with Epson remote, wall mounted speakers
Connections: HDMI, iProjection*
Installed media players: DVD
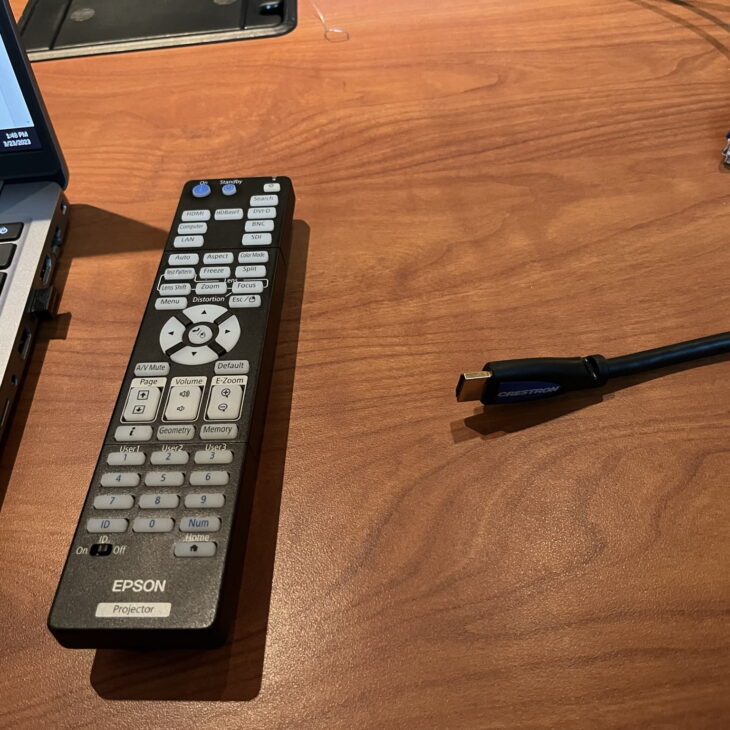
Anderson 138 - Instructions
Connect either the HDMI or VGA + headphones jack to your laptop. Turn your laptop on.
Turn the projector on with the Epson remote – press the “On” button once.
Inputs:
BNC = DVD
HDMI = laptop
LAN = wireless iProjection
Use the A/V Mute button on the Epson remote to blank and un-blank the screen.
The Epson remote controls the volume.
The JVC remote controls the DVD player. Separate volume control for this is located on the amp.
Epson iProjection is enabled on this projector. Contact Media Services about wireless projection of slides or images – email [email protected].
Turn the projector off with the Epson remote – press the “Standby” button twice.
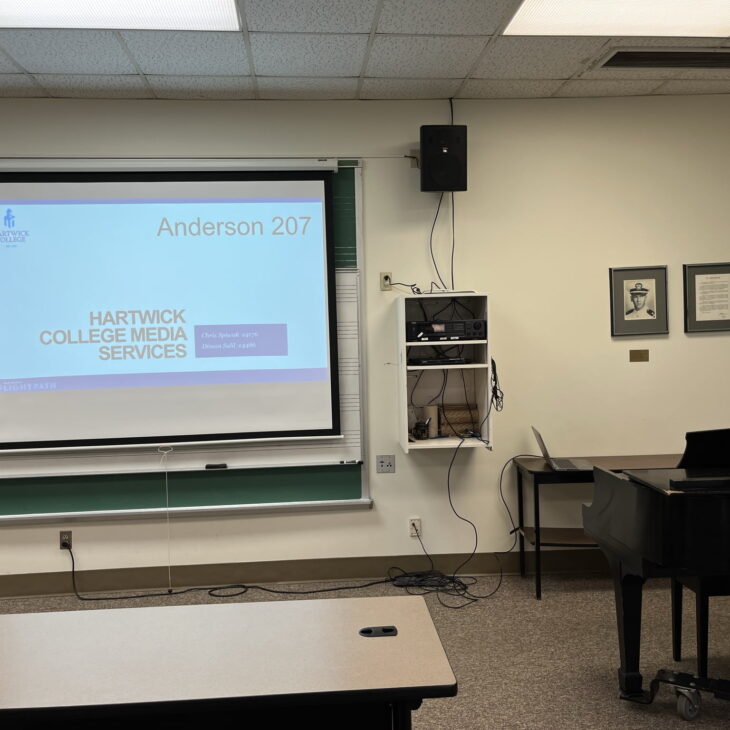
Anderson 207
Screen: front of classroom
Projector: Epson Powerlite 107
Controller: Epson projector remote
Sound: Onkyo amp, wall mounted speakers
Connections: HDMI
Installed media players: DVD/VCR
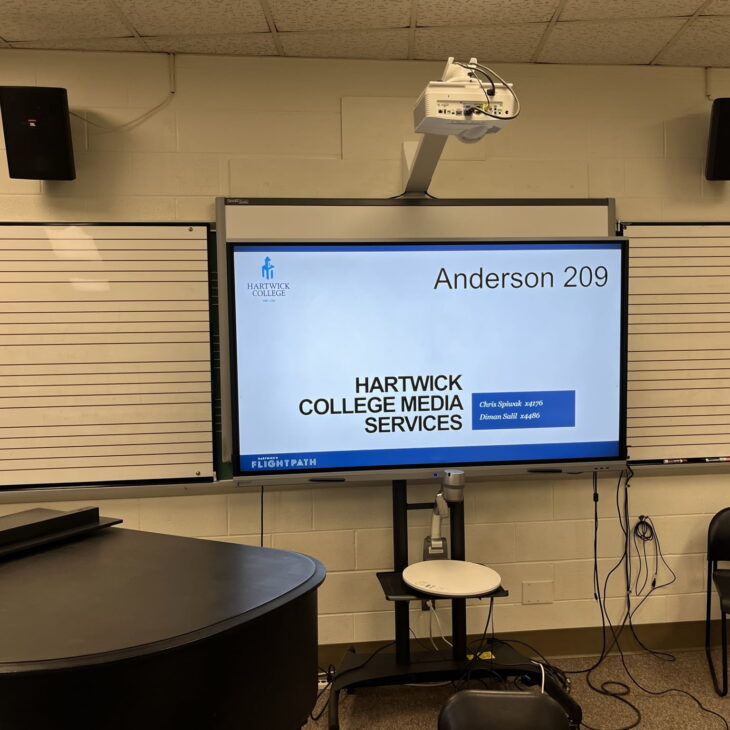
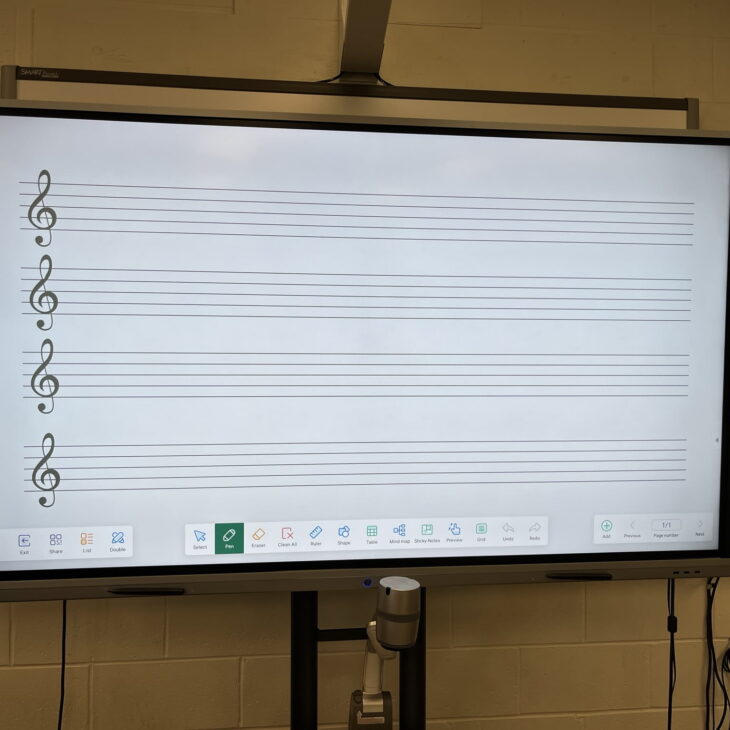
Anderson 209
Screen: Boxlight ProColor Interactive Flat Panel
Controller: Boxlight TV remote,
Sound: Sony amp, wall mounted speakers, TV speakers
Connections: HDMI
Document Camera: connected to Boxlight VGA input
Installed media players: DVD/VCR, Numark turntable
Anderson 209 - Instructions
Turn your laptop on. Connect the HDMI cable to your laptop.
Connect the USB cable to your laptop for touchscreen control on the TV.
Use the VGA input to display the document camera.
Press “Home” to use the built-in Android OS.
Use “Notes” app to access interactive white board. Music staff backgrounds can be selected.

Anderson 228
TV: 65″ LG TV on a rolling cart
Controller: LG TV Remote
Sound: TV Speakers
Connections: HDMI
Installed media players: none
This TV is shared between several art department rooms.
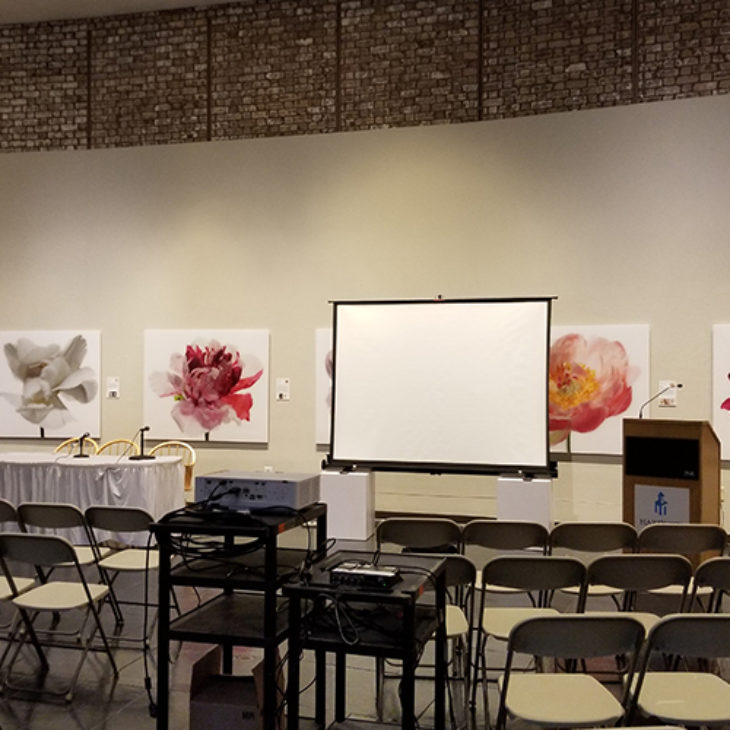
Anderson - Foreman Gallery
Projector: Epson (on a media cart)
Controller: Epson projector remote
Sound: Lectern with mic, Crown amp, Sennheiser wireless mic, Shure mixer, wall mounted speakers
Connections: HDMI
Installed media players: none
Media Services provides consultation, design, installation and maintenance services for the College classrooms, meeting rooms, and other learning environments.
Details on these services are available by calling Media Services at (607) 431-4176 or emailing [email protected].