

Classroom Technology in Clark Hall
Here you will find detailed information about the A/V equipment installed in Clark Hall classrooms, and learn how to operate it.
Quick Links
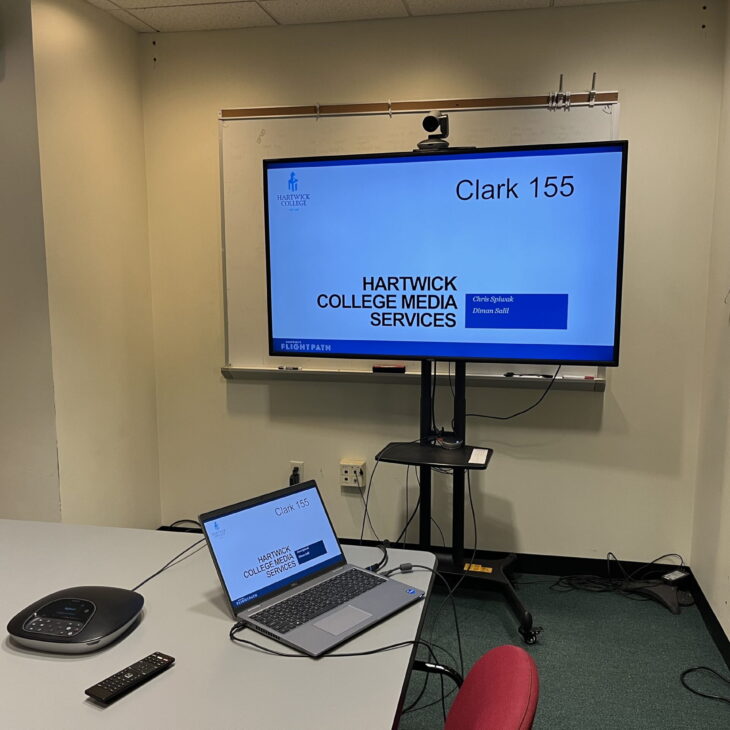
Clark 155
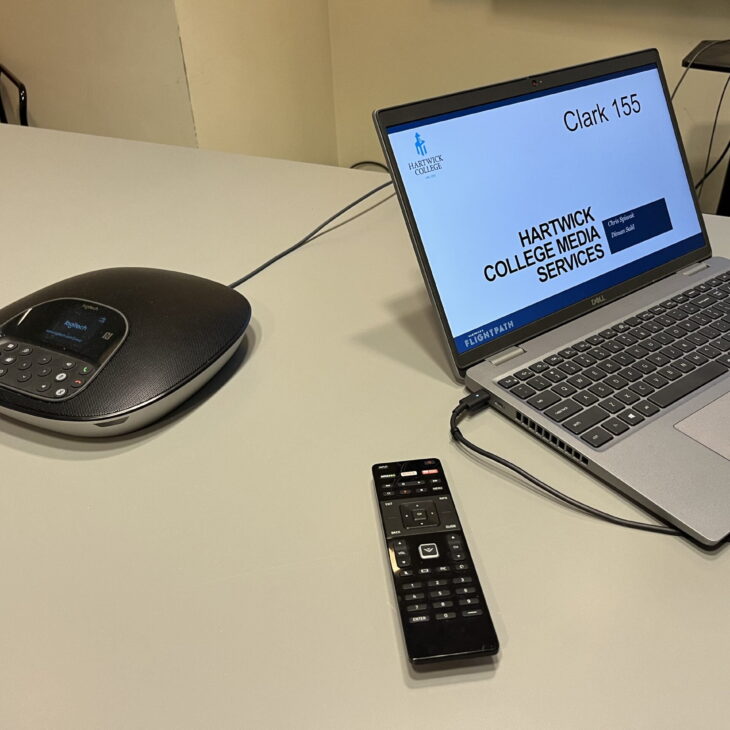
TV: Vizio 65″ “Zoom Cart” (with LogiGroup Camera and Speakerphone)
Controller: Vizio remote
Sound: TV Speakers
Connections: HDMI
Installed media players: none
Clark 155 - Instructions
Turn TV on and control volume with the TV remote.
Plug the HDMI cable into your laptop.
Plug the USB cable into your laptop for the Logitech Group video conferencing system.
In Zoom or Google Meet, select “Echo Canceling Speakerphone (Logi Group Speakerphone)” for Mic, “D65-F1 (Vizio TV)” for the Speaker, and “Logi Group Camera” for camera.
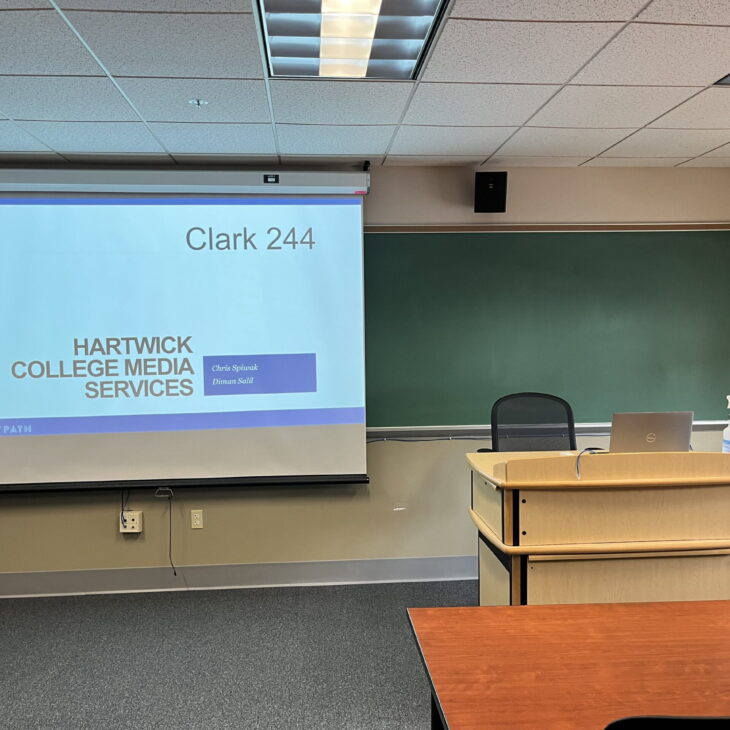
Clark 244
Screen: front of classroom
Projector: Epson Powerlite 992F
Controller: Epson projector remote
Sound: control volume with Epson remote, wall mounted speakers
Connections: HDMI
Installed media players: none
Clark 244 - Instructions
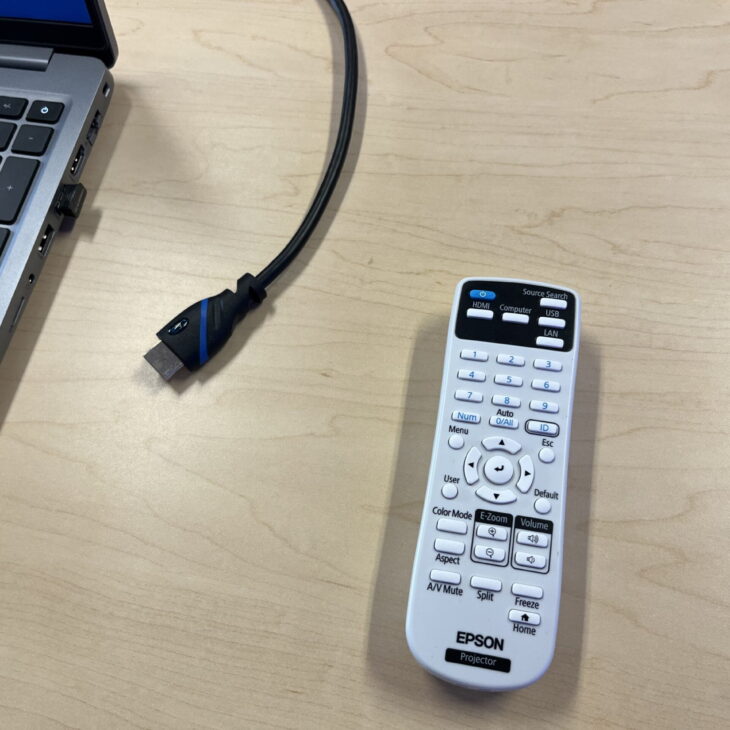
Turn your laptop on. Connect the HDMI CABLE to your laptop.
Turn the projector on with the Epson remote. Press SOURCE SEARCH to display the source that is connected.
The Epson remote controls the volume.
Turn off the projector by pressing the blue power button (top left) on the remote twice.
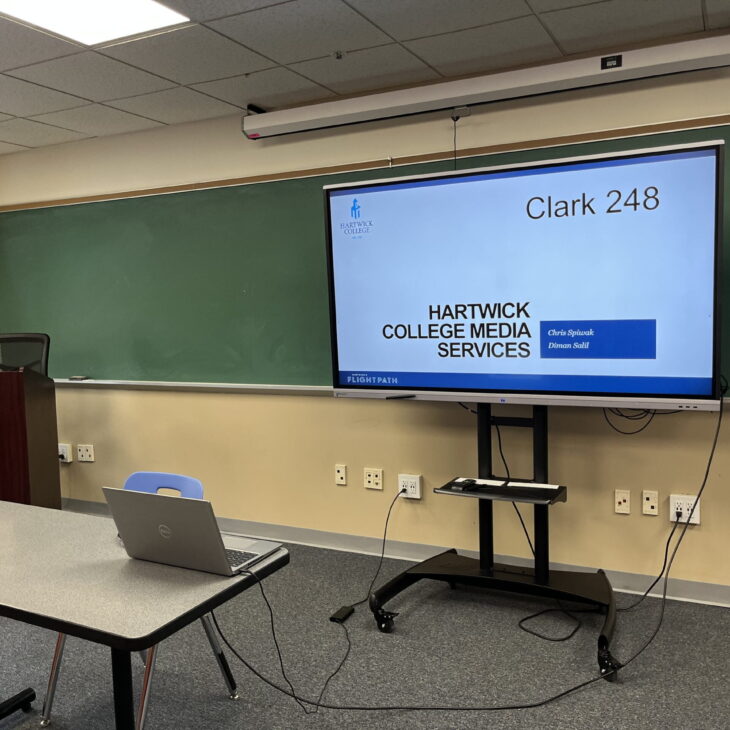
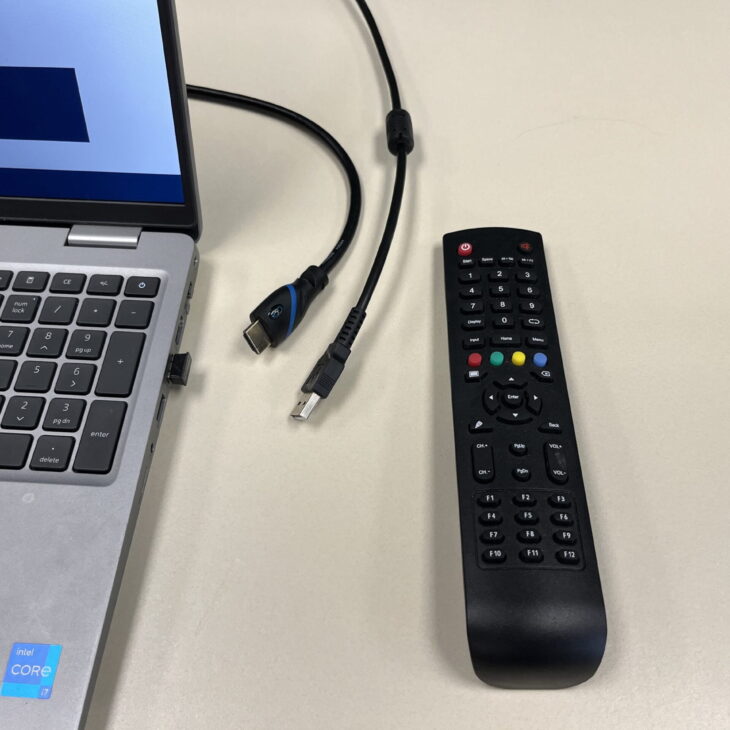
Clark 248
Screen: Boxlight ProColor Interactive Flat Panel
Controller: TV remote
Sound: TV speakers
Connections: HDMI
Installed media players: none
Clark 248 - Instructions
Turn your laptop on. Connect the HDMI cable to your laptop.
Connect the USB cable to your laptop for touchscreen control on the TV.
Use the TV remote to control special functions.
Press “Home” to use the built-in Android OS.
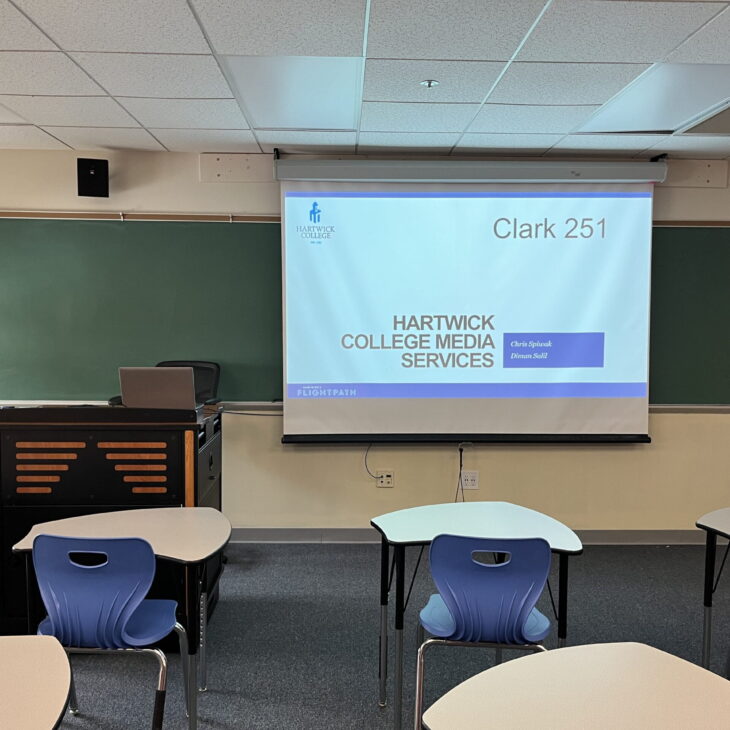
Clark 251
Screen: front of classroom
Projector: Epson Powerlite 992F
Controller: Epson remote
Sound: Ceiling mounted Extron speakers
Connections: HDMI, iProjection*
Installed media players: none
Clark 251 - Instructions
Turn your laptop on. Connect the HDMI cable to your laptop.
Turn the projector on with the Epson remote. Press SOURCE SEARCH to display the source that is connected.
Epson iProjection is enabled on this projector. Contact Media Services about wireless projection of slides or images – email [email protected].
The Epson remote controls the volume.
Turn off the projector by pressing the blue power button (top left) on the remote twice.
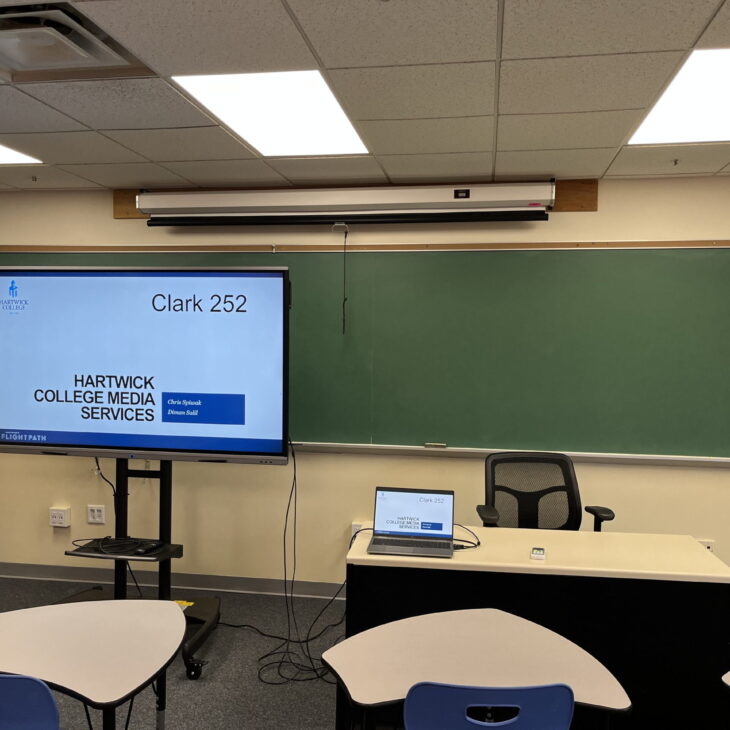
Clark 252
Screen: Boxlight ProColor Interactive Flat Panel
Controller: TV remote
Sound: TV speakers
Connections: HDMI
Installed media players: none
Clark 252 - Instructions
Turn your laptop on. Connect the HDMI cable to your laptop.
Connect the USB cable to your laptop for touchscreen control on the TV.
Use the TV remote to control special functions.
Press “Home” to use the built-in Android OS.
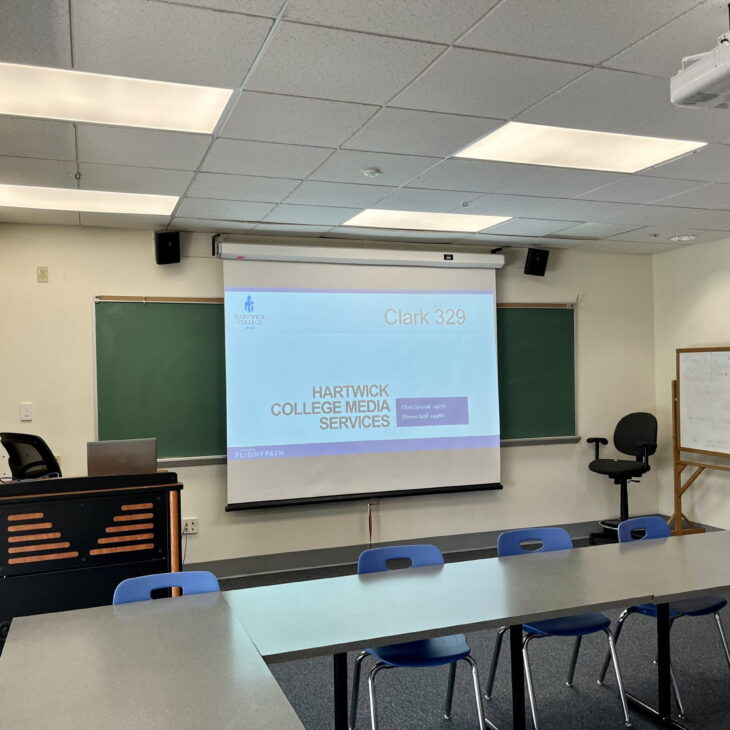
Clark 329
Screen: front of classroom
Projector: Epson Powerlite 992F
Controller: Epson remote
Sound: Wall mounted speakers
Connections: HDMI, iProjection*
Installed media players: none
Clark 329 - Instructions
Turn your laptop on. Connect the HDMI cable to your laptop.
Turn the projector on with the Epson remote. Press SOURCE SEARCH to display the source that is connected.
Epson iProjection is enabled on this projector. Contact Media Services about wireless projection of slides or images – email [email protected].
The Epson remote controls the volume.
Turn off the projector by pressing the blue power button (top left) on the remote twice.
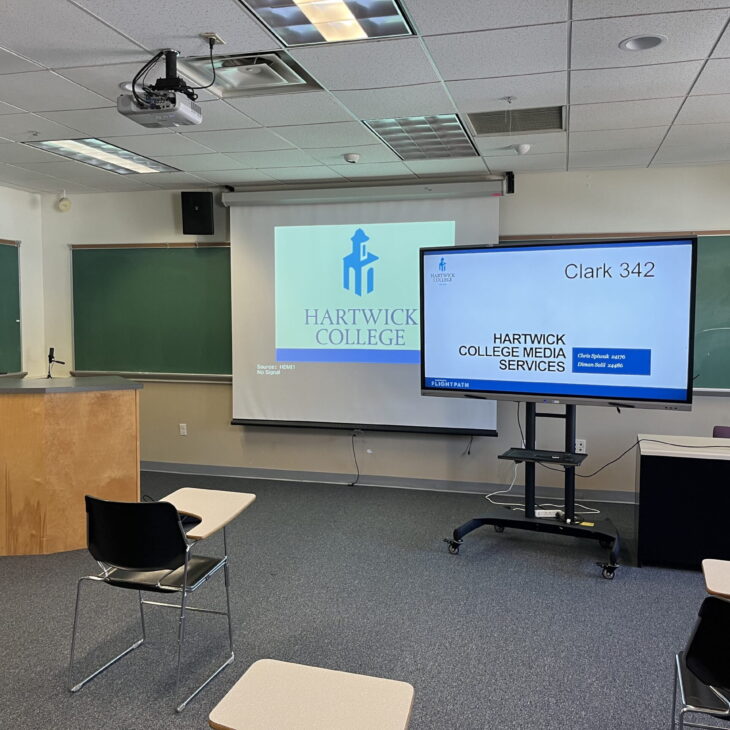
Clark 342
Screen: Boxlight ProColor Interactive Flat Panel
Controller: TV remote
Sound: TV speakers
Connections: HDMI
Installed media players: none
Clark 342 - Boxlight Instructions
Turn your laptop on. Connect the HDMI cable to your laptop.
Connect the USB cable to your laptop for touchscreen control on the TV.
Use the TV remote to control special functions.
Press “Home” to use the built-in Android OS.
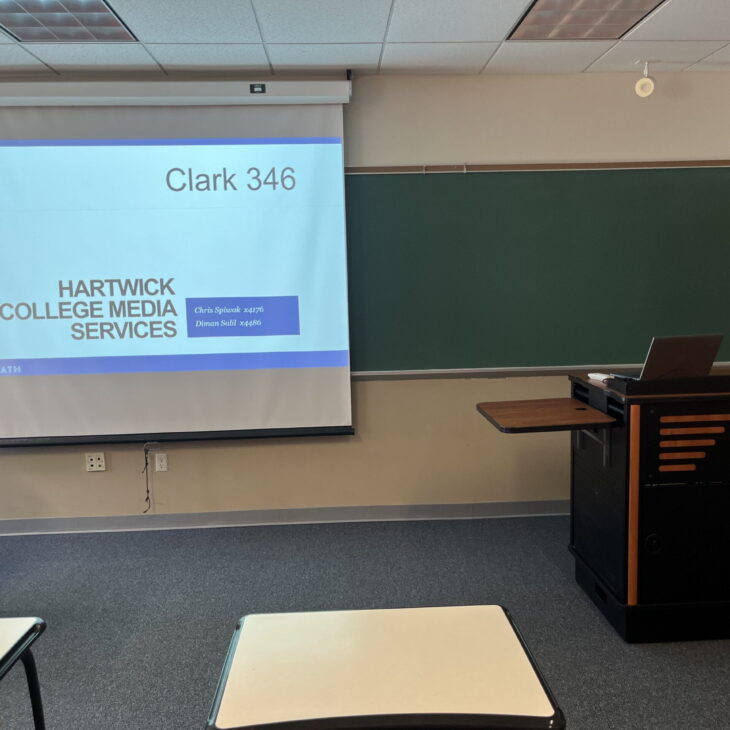
Clark 346
Screen: front of classroom
Projector: Epson Powerlite 992F
Controller: Epson projector remote
Sound: wall mounted speakers
Connections: HDMI
Installed media players: none
Clark 346 - Instructions
Turn projector on by pressing the power button on the remote once (blue button, top left of remote).
Plug the HDMI cable into the laptop.
The Epson projector remote controls the audio.
Turn off the projector by pressing the power button on the remote twice.

Clark 349
Screen: Boxlight ProColor Interactive Flat Panel
Controller: TV remote
Sound: TV speakers
Connections: HDMI
Installed media players: none
Clark 349 - Boxlight Instructions
Turn your laptop on. Connect the HDMI cable to your laptop.
Connect the USB cable to your laptop for touchscreen control on the TV.
Use the TV remote to control special functions.
Press “Home” to use the built-in Android OS.
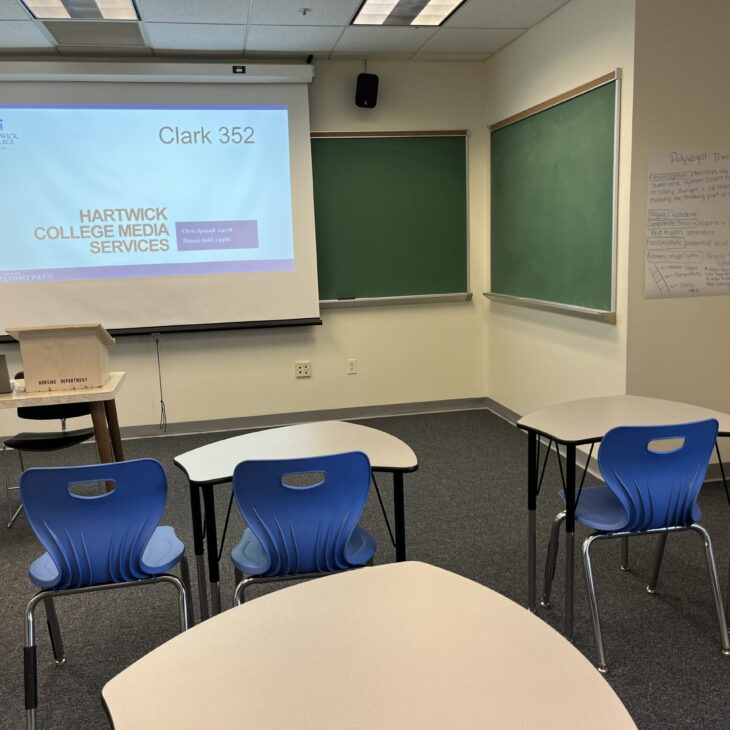
Clark 352
Screen: front of classroom
Projector: Epson Powerlite 992F
Controller: Epson projector remote
Sound: wall mounted speakers
Connections: HDMI
Installed media players: none
Clark 352 - Instructions
Turn your laptop on. Connect the HDMI cable to your laptop.
Turn the projector on with the Epson remote. Press SOURCE SEARCH to display the source that is connected.
The Epson remote controls the volume.
Turn off the projector by pressing the blue power button (top left) on the remote twice.
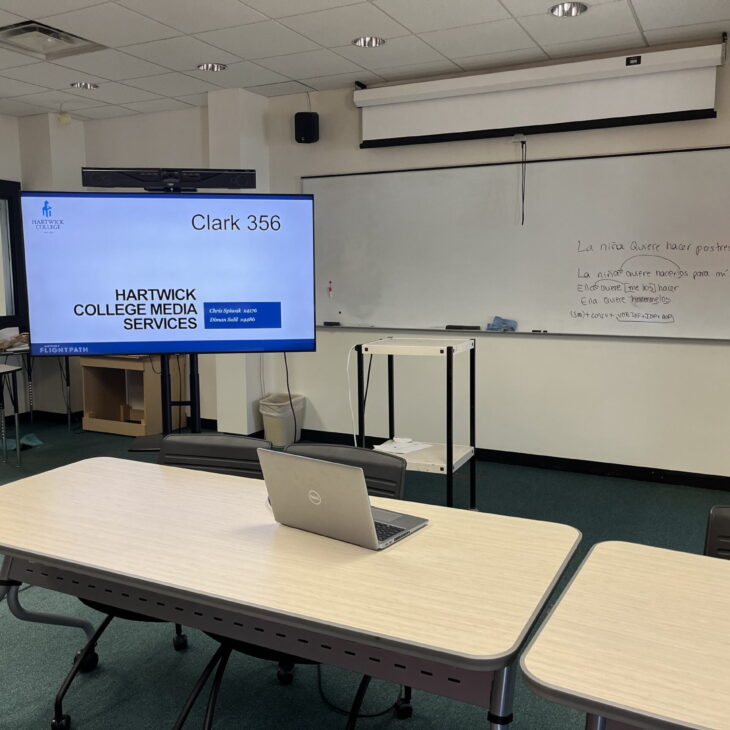
Clark 356 - Production Studio
Screen: Samsung 65″ TV on cart
Controller: Samsung TV Remote
Sound: TV speakers
Connections: HDMI
Installed media players: none
Video/Audio Production Gear: cameras, mics, audio mixers, video switcher, cables, etc (by special request only)
Media Services provides consultation, design, installation and maintenance services for the College classrooms, meeting rooms, and other learning environments.
Details on these services are available by calling Media Services at (607) 431-4176 or emailing [email protected].